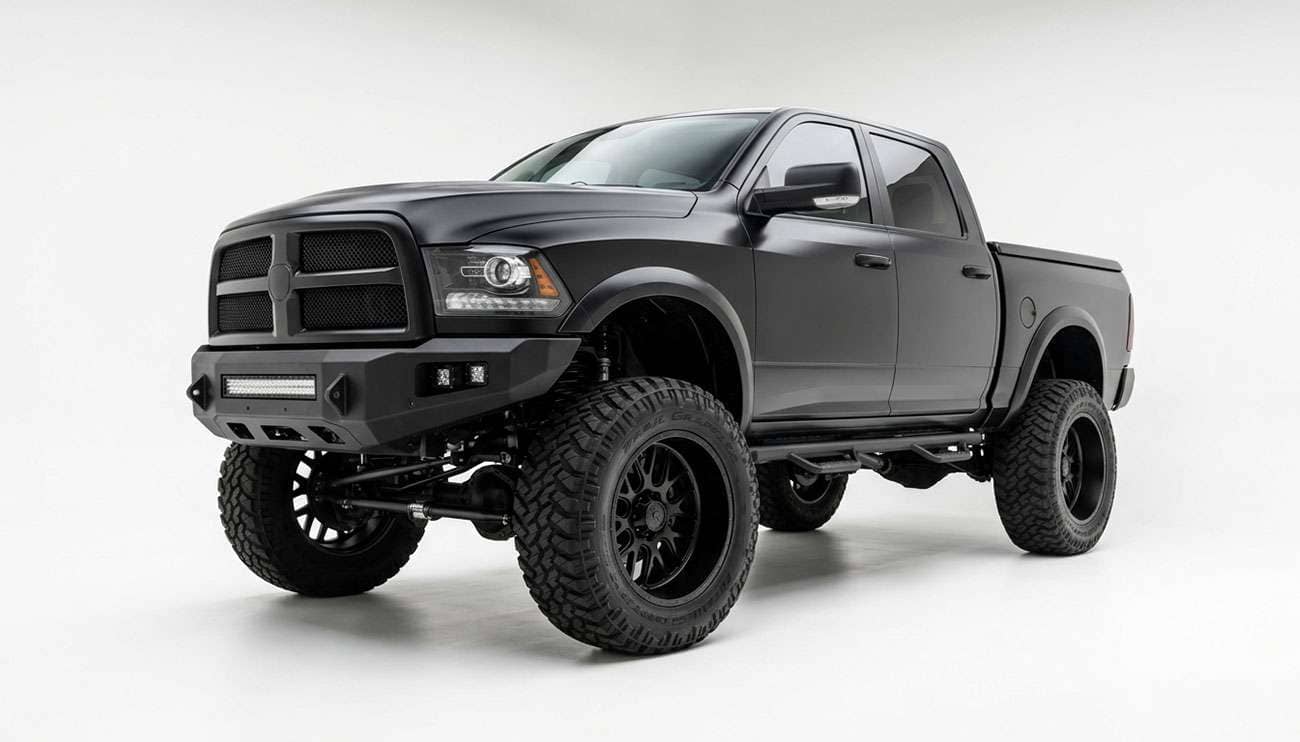
Offset does not create clearance. It only decides how your tire's width gets split across the hub. That is the part nobody puts in front of you, and it is the whole game when you are buying a wheel and tire together. The tire's section width is a fixed number. Offset moves the dividing line. Whatever you take off the inside shows up on the outside, inch for inch. You can relocate a fitment problem with offset. You cannot shrink one.
I have been selling packages out of this shop for a long time, and the call I get is always the same. The wheels look great, the offset was the one everybody on the forum recommended, and the tire still catches the upper control arm on a hard turn. The wheel was not wrong. The tire was a half inch wider than the one the forum guy was running, and that half inch went straight back into the space the offset had just bought.
Two numbers decide whether your package clears. Here they are, and the arithmetic that connects them.
It changes where the middle of your tire sits relative to the hub face. Nothing else.
Run the two measurements that actually matter. Measuring from the wheel mounting surface, the tire reaches inboard toward your suspension and outboard toward your fender, and both distances come out of the same two inputs.
Inboard reach equals half the tire's section width, plus the offset.
Outboard reach equals half the tire's section width, minus the offset.
Add those two together and the offset cancels out. What you are left with is the section width. That is the mechanism, and it is why offset behaves the way it does. Going more negative subtracts from the inboard number and adds the identical amount to the outboard number. The tire did not get narrower. It slid outward.
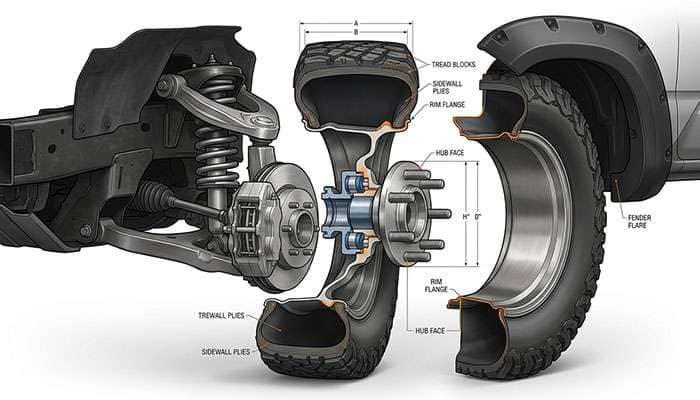
Here is a 35x12.50 tire, which measures 12.5 inches across the section, mounted on five common truck offsets. Half the section width is 6.25 inches, so that is the starting point for both columns.
Offset |
Inboard Reach |
Outboard Reach |
Total |
|---|---|---|---|
+18mm |
6.96 in |
5.54 in |
12.50 in |
0mm |
6.25 in |
6.25 in |
12.50 in |
-18mm |
5.54 in |
6.96 in |
12.50 in |
-25mm |
5.27 in |
7.23 in |
12.50 in |
-44mm |
4.52 in |
7.98 in |
12.50 in |
Look down the right-hand column. It never moves. Going from plus 18 to minus 44 buys you 2.44 inches of room on the inside and charges you exactly 2.44 inches on the outside. That is the trade, and there is no version of it where you come out ahead on both ends.
Which is why the guy who fixes an inner rub with aggressive offset so often calls back about the outer fender lip catching at full stuff. He did not solve the problem. He moved it. Our guide to why are my tires rubbing walks through finding which end is actually making contact, and that matters, because the two ends want opposite fixes.
Here is the thing that trips up nearly every first-time package buyer. Offset numbers are not comparable between wheels of different widths. A minus 44 next to a plus 18 looks like a different species. Convert both to backspacing and they land in almost the same place.
Backspacing is the honest number. It is the distance from the mounting face to the inner rim flange, which is the actual thing that has to fit past your control arm. Offset is a measurement from the wheel's centerline, and the centerline moves every time the wheel gets wider. Same physical position, different number on the box.
Wheel |
Offset |
Backspacing |
Where the Rim Sits |
|---|---|---|---|
20x9 |
+18mm |
5.71 in |
Tucked, close to factory |
20x9 |
0mm |
5.00 in |
Flush |
20x10 |
-18mm |
4.79 in |
Mild poke |
20x10 |
-25mm |
4.52 in |
Noticeable poke |
20x12 |
-44mm |
4.77 in |
Mild poke, very wide rim |
Read the last row against the third. A 20x12 at minus 44 sits at 4.77 inches of backspacing. A 20x10 at minus 18 sits at 4.79. Two hundredths of an inch apart. The inner edge of that monster 12-inch wheel is in essentially the same place as the 10-inch wheel everybody considers reasonable. It is three inches wider, so it carries far more tire out past the fender, but the part that has to clear your suspension is where it always was.
That is why the market looks the way it does. Across current 20-inch truck wheels in the 6x139.7 pattern, the common offsets march steadily negative as the rim gets wider, from the mildly positive numbers on 20x9 through the minus teens and twenties on 20x10 to the deep minus forties on 20x12. It is not fashion. It is manufacturers holding backspacing inside the window that clears a truck's suspension while the rim grows outward.
Shop backspacing. Convert every offset you are quoted. The formula is half the rim's overall width plus the offset in inches, and overall width is the nominal width plus one inch for the flanges. If you want the longer treatment, wheel offset explained covers the conversion in detail.
Take half your tire's section width and subtract the offset. That is how far the outer sidewall sits from your hub face, and comparing it to your stock setup tells you how much further out you are going.
Work an example. Say your truck came on a 17x8 with plus 30 offset wearing a 265 tire, which is 10.4 inches of section. Half of that is 5.22 inches, minus the 1.18 inches of offset, and your outer sidewall sits 4.04 inches out from the hub face. Now you are looking at a 20x10 minus 18 with a 35x12.50. That is 6.25 minus a negative 0.71, giving 6.96 inches. You are moving the outer sidewall out by almost three inches per side.
Three inches is a lot. It is more flare coverage than most stock fenders have, which is why so many packages at this level end up needing fender flares to stay legal, since many states require the tread to be covered. It also lengthens the lever arm your wheel bearings work against and changes your scrub radius, which you will feel as heavier steering and more kickback through the wheel on broken pavement.
None of that means do not do it. It means know the number before the truck is on the lift and the old wheels are already sold.
This is the question the package buyer actually needs answered, because you are choosing the wheel and the tire in the same transaction, and most people treat those as two unrelated decisions.
Add an inch of section width and half of it goes inboard while the other half goes outboard. Both ends get worse at once. There is no offset on earth that absorbs an inch of extra tire, because offset only moves the split point.
Put numbers on it. Two 35s on the same 20x10 minus 18 wheel.
Tire |
Section Width |
Inboard Reach |
Outboard Reach |
|---|---|---|---|
35x12.50R20 |
12.50 in |
5.54 in |
6.96 in |
35x13.50R20 |
13.50 in |
6.04 in |
7.46 in |
Difference |
1.00 in |
0.50 in worse |
0.50 in worse |
Same wheel, same lift, same truck. One inch of tire and you have given up half an inch at both ends simultaneously.
Now suppose you want that 13.50 but you need your inboard clearance back where the 12.50 had it. You would have to go from minus 18 to roughly minus 31, which is 12.7 millimeters more negative. Do that and your outboard reach climbs to 7.96 inches, a full inch further out than where you started.
So here is the rule worth writing on your hand. Every extra inch of section width costs you half an inch on each end, or a full inch of poke if you chase the inboard side back with offset. An inch of tire is never free. You pay for it inside, outside, or both.
Which is why, on a package, the tire is the decision that constrains everything. Pick the width first, then pick the offset that splits it where your truck has room. For which diameters your lift supports in the first place, our lift kit tire size chart handles the vertical side of the question.
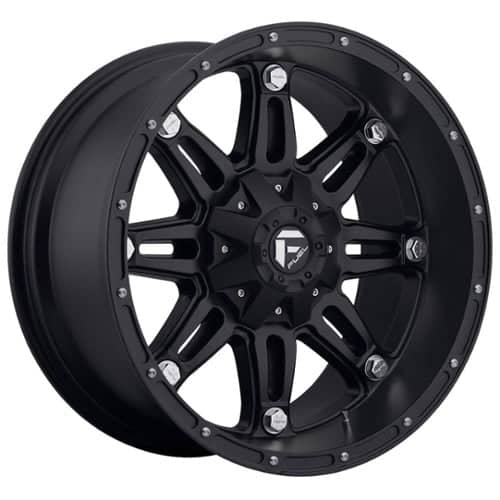
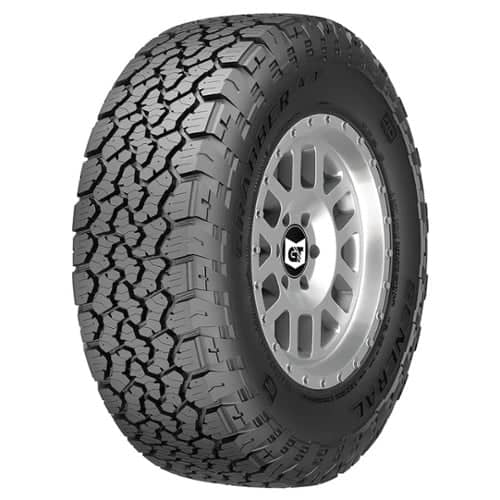
With the arithmetic settled, here are real combinations across the range, with the backspacing already worked out so you can compare them honestly. If you want the offset window recommended for each lift height before you start, our roundup of the best wheels for lifted trucks lays those out by lift.
Wheel |
Size and Offset |
Backspacing |
Finish |
Price |
|---|---|---|---|---|
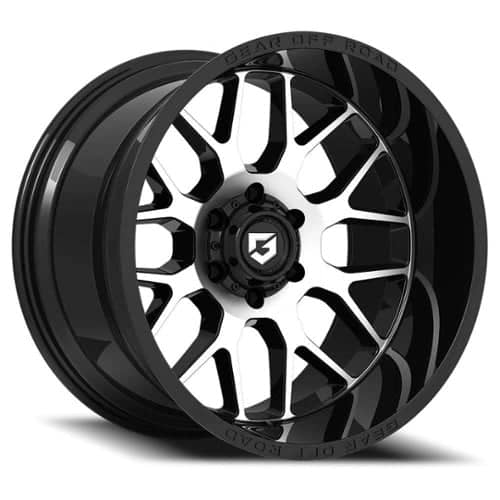
20x9, +18mm |
5.71 in |
Gloss Black, Machined Face |
$269.41 |
|
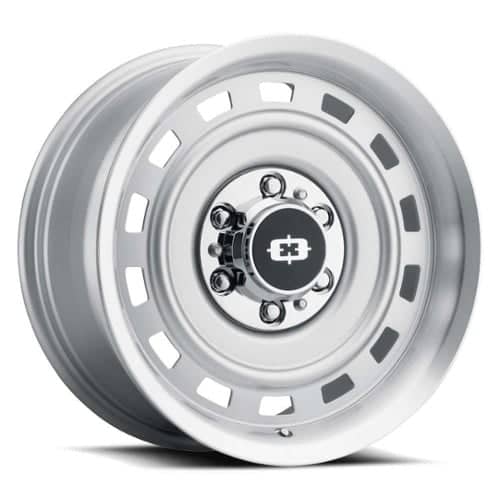
20x9, 0mm |
5.00 in |
Silver |
$286.46 |
|
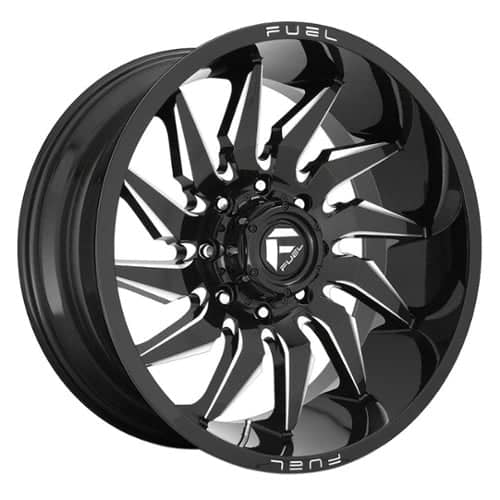
20x10, -18mm |
4.79 in |
Gloss Black Milled |
$386.53 |
|
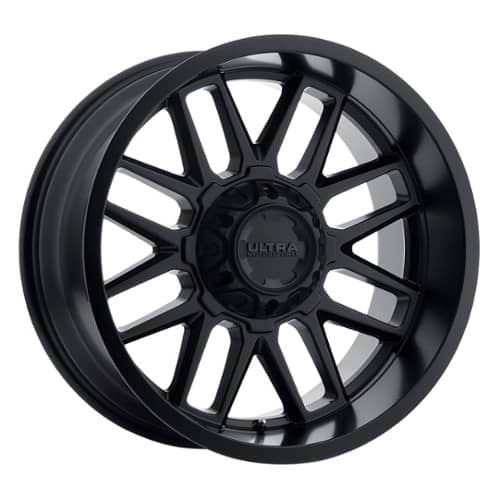
20x10, -25mm |
4.52 in |
Satin Black |
$295.83 |
|
20x12, -44mm |
4.77 in |
Matte Black |
$306.00 |
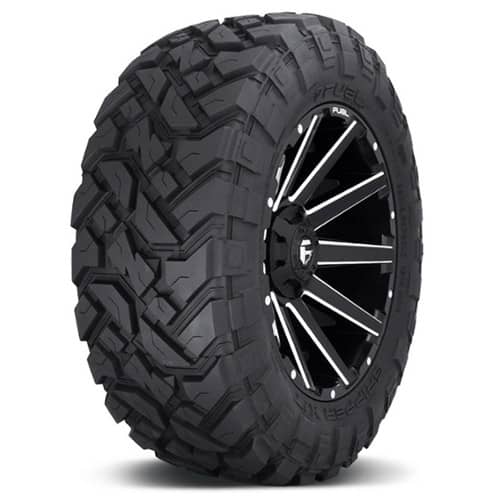
Now the tire side, where the width decision gets made.
Tire |
Size |
Load Index |
Type |
Price |
|---|---|---|---|---|
35x12.50R20 |
121 |
All-terrain |
$316.26 |
|
35x12.50R20 |
121 |
Hybrid terrain |
$442.35 |
|
35x13.50R20 |
126 |
Mud terrain |
$536.99 |
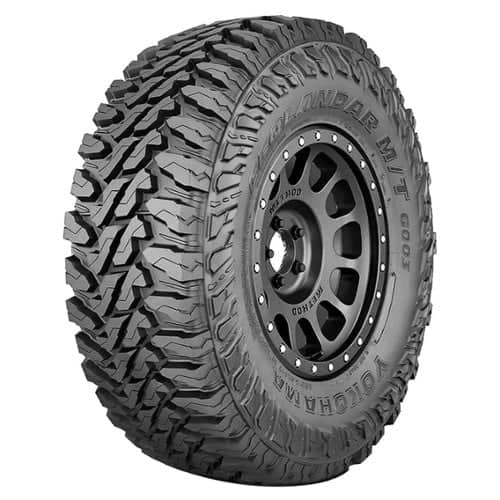
That third tire is the one to think hardest about. It is an excellent mud terrain, but it is a 13.50, and everything in the previous section applies the moment you put it on. If your truck cleared a 12.50 with margin to spare, fine. If it just barely cleared, that extra inch is going to find something.
For a broader look at what comes in a mounted package and what to check on arrival, see what is included in a wheel and tire package.
Here is what a package that does not quite clear charges you, in the order the bill arrives.
It starts with the liner. The plastic inner fender liner is the first casualty, and it announces itself as a scrubbing noise on tight turns and a scuffed band on the tire's outer shoulder. Annoying, cheap, easy to ignore.
Then the sidewall. Behind that liner is bracketry and a pinch seam that are not smooth. A tire working against them under load does not just scuff, it abrades into the sidewall, which is where the tire carries the least rubber over its casing plies. That is a structural problem, not a cosmetic one, and it does not heal. Our guide to tire sidewall damage and whether it is safe to drive shows how to tell a cosmetic mark from a tire that has to come off the truck.
Then the steering. Aggressive negative offset lengthens your scrub radius, which loads the steering system harder than it was designed for. You feel it as heavy steering, tramlining on grooved pavement, and kickback over potholes. Over time it shows up as wear in tie rod ends and ball joints.
Then the bearings. Every millimeter you push the tire outboard lengthens the lever arm working on your wheel bearings. They were engineered around the factory offset, and the further out you go the harder they work at every mile.
And then the part that stings. Mounted, balanced packages are not returnable once the tires have been run. If the fitment is wrong, you are not exchanging anything. You are buying a second set of something. That is the real reason to do the arithmetic before the order goes in rather than after the truck is on the lift.
Every one of these is a fitment decision made at the point of purchase, and every one of them is fixable for free while the package is still a line item on a screen.
Fifteen minutes with a tape measure saves the whole thing.
1. Write down what is on the truck now. Wheel diameter, width, offset and the tire size. Offset is usually stamped on the back of the spoke or the inner barrel.
2. Convert your current wheel to backspacing. Half the overall width, which is nominal width plus one inch, then add the offset in inches. This is your baseline.
3. Measure what you actually have to spare. Turn the wheel to full lock and measure from the tire's inner shoulder to the nearest suspension component. Then measure from the outer sidewall to the inside edge of the fender flare. Those two numbers are your real budget.
4. Pick the tire width first. It sets the total you have to divide. Use the section width from the manufacturer's spec sheet, not the number in the size name, because they are not always the same.
5. Split it with offset. Half the section width plus offset gives inboard reach, minus offset gives outboard. Check both against the budget from step three.
6. Check the poke against your flares. If the outer sidewall lands past the flare, plan on flares before you plan on the wheels.
7. Cycle the suspension before you commit to four. If you can, mount one and cycle it to full compression at full lock both directions. Witness marks tell the truth that no calculator can.
Those last two steps are also where people reach for spacers as a shortcut. Sometimes that is the right answer and sometimes it stacks another joint into the load path, which is worth reading up on in whether wheel spacers stop tire rubbing before you go that route.
The reason packages go wrong is that people shop the two halves separately. They research offset until they can recite it, pick a tire because it looked right on somebody else's truck, and never notice that the two numbers are a single decision.
Hold onto three things. Offset does not create clearance, it splits a fixed section width across the hub. Offset numbers only mean something once you convert them to backspacing, which is why a minus 44 on a 20x12 sits in the same place as a minus 18 on a 20x10. And every extra inch of tire width costs you half an inch at both ends, or a full inch of poke if you chase it with offset.
Get those right and the package fits the first time, which on a mounted and balanced set is the only time that counts.
When you are ready, browse our wheel and tire packages, where every wheel lists its offset and every tire lists its size so you can run the arithmetic before you order.
Only on the inside, and it takes the same amount from the outside. Inboard reach is half the tire's section width plus the offset, and outboard reach is half minus the offset, so the two always add up to the section width. Going from 0mm to -25mm on a 35x12.50 buys 0.98 inches of inboard room and adds 0.98 inches of poke. Offset moves a fitment problem, it does not reduce one.
Not by itself, because the number depends on rim width. A 20x12 at -44mm works out to 4.77 inches of backspacing, which puts its inner edge within two hundredths of an inch of a 20x10 at -18mm. What makes it aggressive is the rim width, not the offset figure. The 12-inch rim carries far more tire outboard, so the poke is dramatic even though the inner clearance is ordinary.
Take the rim's nominal width, add one inch for the two flanges, halve it, then add the offset converted to inches by dividing millimeters by 25.4. A 20x10 at -18mm gives 5.5 inches minus 0.71, or 4.79 inches of backspacing. Always compare backspacing rather than offset when you are looking at wheels of different widths, because offset is measured from a centerline that moves as the rim gets wider.
It will mount, but it reduces clearance at both ends simultaneously. Going from a 35x12.50 to a 35x13.50 on the same 20x10 at -18mm moves the inner edge 0.50 inches closer to your suspension and the outer edge 0.50 inches further past the fender. Check the manufacturer's published section width rather than the number in the size name, because tires of the same nominal size can measure differently.
The tire, because its section width sets the total you then have to divide. Once the width is fixed, offset is simply the choice of where that total sits relative to your hub. Picking a wheel first and then discovering the tire you wanted is an inch wider than planned is the most common way a package ends up rubbing, and on a mounted set it is an expensive discovery.
The practical limit is your fender flare, because many states require the tread to be covered. Beyond the legal question, poke lengthens your scrub radius, which shows up as heavier steering and more kickback on broken pavement, and it lengthens the lever arm on your wheel bearings. Measure from the outer sidewall to the inside edge of your flare before ordering, and treat flares as part of the package budget if the tire lands outside them.