17-inch to 18-inch Wheels: The Smart Upgrade Guide (Fitment, Ride, Cost)
Short answer: Moving from 17″ to 18″ usually means a lower-profile tire to keep overall diameter close to stock. Expect a sharper look and crisper turn-in, with a small hit to ride comfort and tire price. Get the offset/backspacing right, confirm brake clearance, match load index/speed rating, and use a calculator to keep rolling circumference within ~2% of OEM.
Why upgrade from 17″ to 18″?
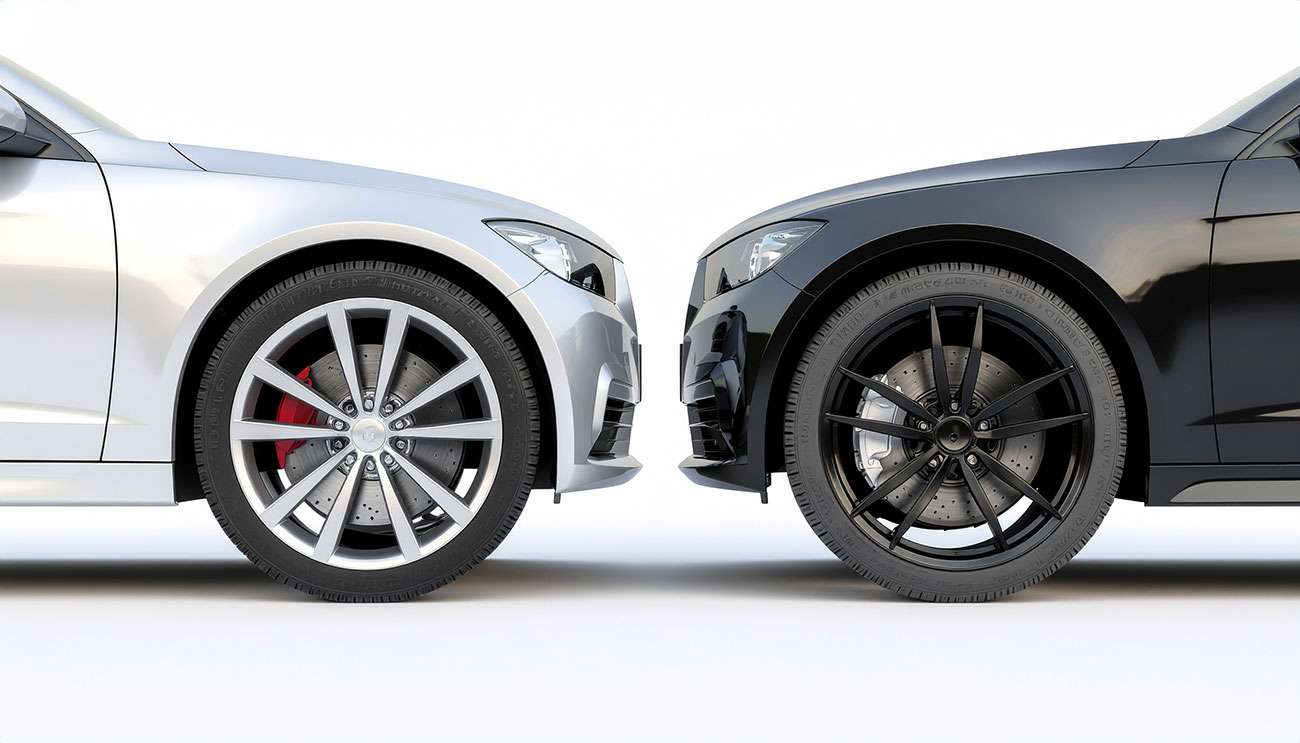
- Appearance: Less sidewall, more wheel face. Modern, athletic stance without going oversized.
- Handling: Shorter sidewall reduces flex for more precise steering response.
- Brake clearance: 18″ often clears larger OEM or big-brake kits that 17″ can’t.
What changes—and what to watch
Ride & noise
Lower-profile tires transmit more road texture. Quality touring compounds help, but expect a firmer feel than with 17″.
Wheel & tire weight
Heavier assemblies can soften acceleration and MPG. Favor flow-formed/forged wheels and lighter tire models to offset weight gain.
Tire availability & cost
18″ sizes are abundant across all-season, UHP, and all-weather lines, but typically cost more than equivalent 17″ sizes. Shop total lifecycle cost (treadwear, rotation intervals, rebate support) rather than sticker price alone.
Quick steps to do it right
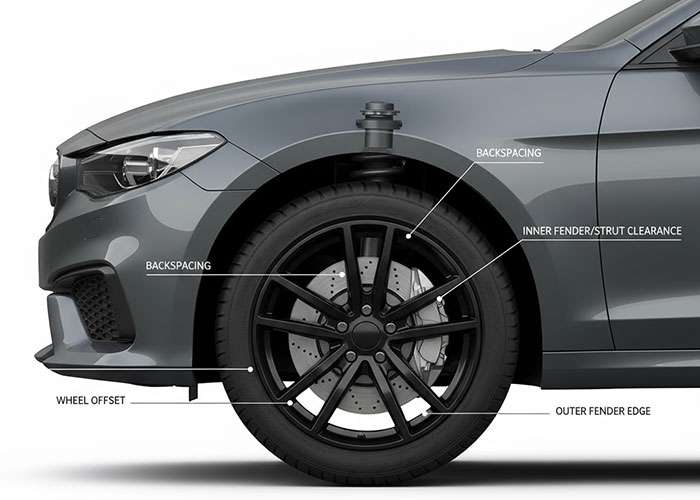
- Confirm OEM specs: Bolt pattern, center bore, stock offset, and brake package. If you’re not sure, check our Wheel Offset Explainer.
- Choose the wheel: 18″ diameter with width/offset that keeps the tire inside fenders and clears suspension/brakes. Use our Backspacing Calculator to visualize inboard/outboard movement.
- Pick a tire that preserves diameter: Use our Plus/Minus Sizing Calculator and Tire Size Comparison to keep circumference within ~2% of OEM (speedometer friendly).
- Match load & speed ratings: Never downgrade from OEM. See Load & Speed Ratings.
- Plan install: New TPMS service kits, hub-centric rings (if needed), correct lug hardware and torque. Consider an alignment after install.
Safety & fitment checks (don’t skip)
- Brake clearance: Test fit to ensure caliper and spoke clearance with at least 3 mm safety margin.
- Fender & liner clearance: Turn lock-to-lock and compress suspension. No rub on liners, tabs, or fender lips.
- Offset discipline: Too low an offset pushes outward (fender rub); too high risks inner rub. Start near OEM and adjust with data, not guesswork.
- TPMS & hardware: Use new valve cores/seals and the correct seat style (conical/mag/ball) for your wheels.
- Torque & re-torque: Tighten in a star pattern to the vehicle spec, then re-check after 50–100 miles.
Real-world sizing examples
These illustrate how a typical 17″ → 18″ plus-one might look while staying near stock diameter:
- 225/55R17 → 235/45R18 (close diameter, wider tread, crisper steering)
- 215/55R17 → 225/45R18 (sporty feel, modest ride firmness increase)
- 235/50R17 → 245/40R18 (performance-leaning, watch inner clearance)
Tools that make this easy
Pro tips from our fitment bay
- Hub-centric rings: If the wheel’s center bore is larger than your hub, use rings to prevent vibration.
- Alignment check: After any diameter/offset change, verify toe/camber; it protects your tire investment.
- Seasonal sets: If winters are rough where you drive, keep your 17″ set for snow tires; run 18″ in fair weather.
- Big-brake plans? Choose spoke/face designs with generous caliper clearance now to avoid buying wheels twice.
FAQs
Will my speedometer be off when I switch from 17″ to 18″?
It can be if overall diameter changes. Use a plus-one tire size to keep circumference within about 2% of stock, and verify with our Tire Size Comparison.
Do 18″ wheels ride rougher than 17″?
Usually a bit firmer due to the shorter sidewall. Choosing quality touring or grand-touring compounds helps keep noise and harshness in check.
What parts do I need on installation day?
Correct lug hardware, hub-centric rings if required, TPMS service kits, and torque to your vehicle’s spec (re-torque after 50–100 miles). Consider an alignment after install.