Flat tires strike millions of drivers across the U.S. every year, but learning to patch a tire properly can save you serious money and time.
Your options when facing a puncture are straightforward. A tire plug repair runs between $10 to $50 per tire, compared to shelling out around $200 for each new tire. All Wheel Drive vehicles make this cost difference even more significant, since they typically need all four tires replaced at once. Here's the good news: a properly installed tire patch lasts seven to ten years, making it a solid long-term fix for punctures no larger than 1/4 of an inch.
The U.S. Tire Manufacturers Association sets clear guidelines - not every tire damage can be repaired safely. When conditions are right, patching beats plugging because plugs can work loose over time. If your tire shows good condition aside from the leak, you can likely patch it yourself.
We'll guide you through the professional process of patching a tire correctly, ensuring your repair holds strong for years to come.
Determining if your tire damage is actually repairable comes first. Not every puncture can be safely fixed, and understanding this difference prevents dangerous blowouts down the road.
Puncture location determines everything when it comes to repairability. Tread area damage (where the tire meets the road) can often be repaired safely, while sidewall damage cannot be fixed under any circumstances.
The sidewall flexes constantly during driving and lacks the internal structural cords found in the tread area. Sidewall punctures or cuts cannot regain the flexibility needed for proper performance. Attempting to patch sidewall damage creates serious blowout risk while driving.
The tread area contains reinforcing cords and belts that maintain structural integrity even after repair. Proper tread repairs can safely last for the tire's remaining life.
Puncture size sets clear limits for repairability. Passenger car tires allow maximum repairable punctures of 1/4 inch (6mm) in diameter. Steel-belted light truck tires increase this limit slightly to 3/8 inch (10mm).
Penetration angle affects repair methods too. Punctures angled greater than 25 degrees require two-piece stem and patch repair components. Angles exceeding 35 degrees need special consideration for proper repair.
Location within the tread matters as well. The puncture must sit at least 1 inch away from previous repairs and a minimum of 2 inches from the sidewalls for safe repair.
Certain situations require tire replacement instead of repair:
Sidewall or shoulder damage: Any puncture extending into the sidewall or shoulder area cannot be repaired.
Oversized punctures: Holes larger than 1/4 inch for passenger tires or 3/8 inch for light truck tires require replacement.
Multiple repairs: After three patch or plug jobs, the tire is no longer safe and should be replaced.
Worn tread: Tires worn to the treadwear indicators (2/32" remaining tread depth) should not be repaired.
Previous improper repairs: If a tire has an existing improper repair, it must be scrapped.
Run-flat tires: These specialized tires cannot be repaired if they've been driven with no pressure.
Structural damage: Tires showing signs of bulging, casing separation, or excessive wear are beyond repair.
The U.S. Tire Manufacturers Association requires combination repairs for safety; neither plug-only nor patch-only repairs meet safety standards. A proper repair always involves filling the hole completely with rubber stem or vulcanizing material and applying a patch to the inner liner.
Proper tire patching demands the right equipment before you start. The difference between a temporary fix and a lasting repair often comes down to having quality tools and materials on hand.
Success starts with the right detection and access equipment:
Leak detection spray - Apply soapy water or dedicated tire leak-detection fluid to locate slow air leaks by watching for bubbles
Tire irons & pry bars - These help with mounting and demounting stubborn tires, especially off-road or low-profile varieties
Impact wrench & torque wrench - For efficient lug nut removal and proper tightening to manufacturer specifications
8-inch blunt awl - Used to probe puncture areas, determine wound angles, and remove trapped debris without damaging tire cords
Bead spreader/tire spreader - Essential for spreading sidewalls to properly inspect and access the inside of the tire
Innerliner scraper - Removes contaminants like mold, lubricants, or balancing compounds from the inner tire surface
You'll also need a portable compressor or air supply access for reinflation after repair. Professional-grade work benefits from a drill (1,200 rpm maximum) fitted with appropriate carbide cutters.
Your repair kit selection determines both safety and longevity. Four main options are available:
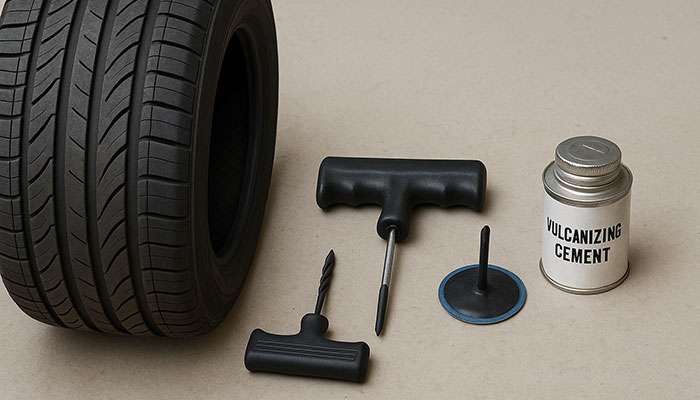
Tire plug kits offer the quickest solution with rubber plugs, insertion tools, and reamers. They work without tire removal but handle only holes around 1/8-inch or less. DIYers favor these for convenience and portability.
Tire patch kits provide superior durability through adhesive, abrasive tools, and rubber patches applied inside the tire. They require tire dismounting but create stronger bonds than plugs alone.
Combination plug-patch kits represent the only DOT-approved repair method. These systems fill the puncture while simultaneously sealing from inside, meeting all safety standards for permanent repairs.
Sealant kits inject pressurized liquid adhesive through the valve stem. While handy for emergencies, they leave residue requiring cleanup and may damage valve stems or tire pressure sensors.
Home mechanics should prioritize kits containing:
Rubber plugs/patches
Insertion tools and reamers
Vulcanizing cement
Tire crayon or marking tools
Never compromise on safety equipment. Essential protection includes:
Gloves - Protect hands from hot components, chemicals, and provide better grip
Safety goggles - Prevent eye injuries while working with tools and chemicals
Proper lighting - A minimum of 200 foot-candles (300 recommended) at the repair surface, including inside the tire cavity
Workspace organization matters as much as tool selection. Keep areas clean with tools stored securely in cabinets to prevent clutter. Position wheel chocks behind or in front of wheels opposite your work area for stability.
Jack stands rated for your vehicle's weight on flat, stable surfaces are mandatory - never rely solely on a jack when working under a vehicle. These preparations ensure both successful repairs and personal safety throughout the process.
You've confirmed your tire can be repaired and gathered all the necessary tools. Time to perform the actual repair. Patching a tire properly takes patience and attention to detail, but these steps will give you professional-quality results.
Finding the exact puncture location comes first. Mix dish soap with water (approximately 1 part soap to 3 parts water) in a spray bottle. Apply this mixture liberally to the tire, focusing on the tread area. Watch for bubbles forming - they show you where air escapes. Very slow leaks that don't show bubbles readily? Reduce tire pressure to about 5 PSI, as smaller air jets become more visible at lower pressures.
Mark the leak location, then fully deflate the tire by removing the valve stem cap and depressing the valve core until all air escapes. Loosen the lug nuts while the tire stays on the ground, then raise the vehicle using a jack and secure it with jack stands. Remove the wheel from the vehicle. Break the tire bead from the rim using tire irons or specialized tools. Work around the circumference until the tire separates completely from the rim.
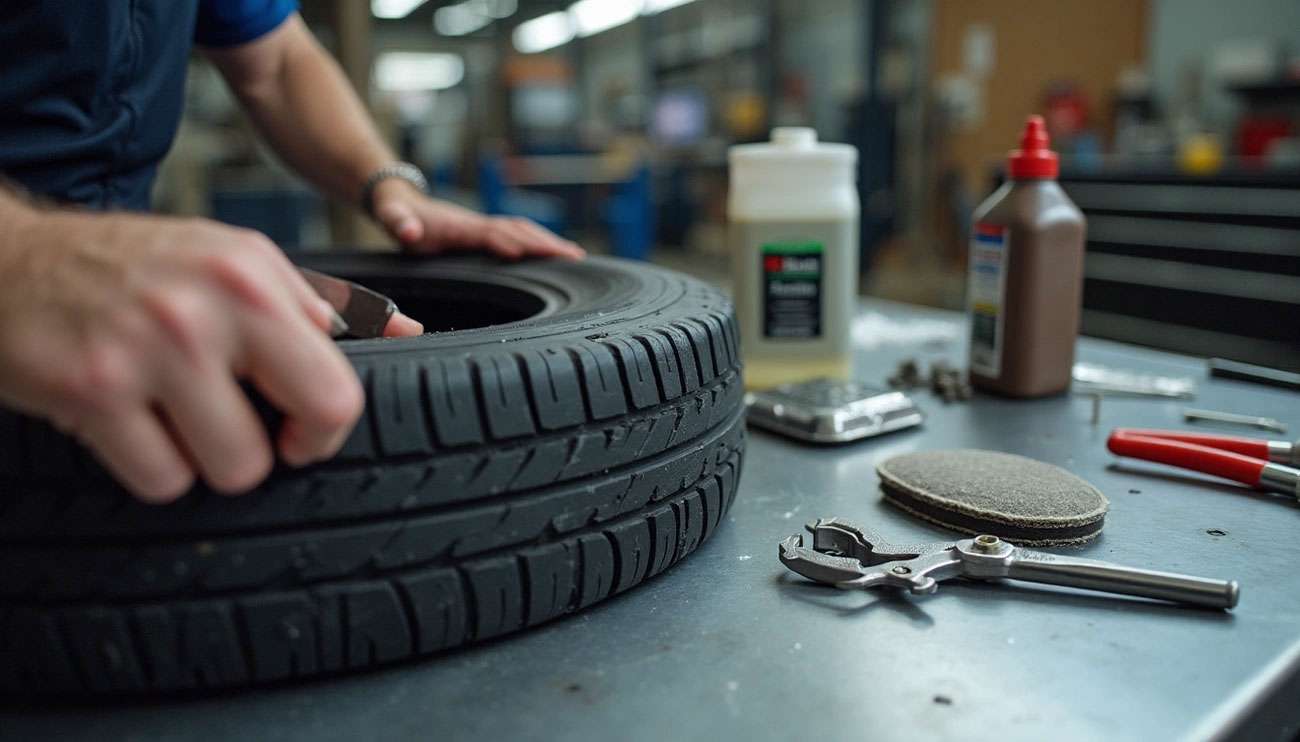
Locate your marked puncture site on the removed tire. Use the scuffer tool from your repair kit to create a crosshatch pattern around the damaged area, extending about half an inch beyond the puncture. Don't hold back - the patch sticks better to a thoroughly roughened surface. Remove any loose rubber pieces by wiping the area clean. This roughening step creates the texture your adhesive needs to bond properly.
Apply an even coat of rubber cement directly to the roughened surface, working it into the material until fully covered. Let the cement become tacky - usually 3-5 minutes, longer in cold or humid conditions. Prepare your patch by removing its backing without touching the adhesive surface. Radial tires allow patch positioning in any direction, while bias tires need alignment with directional arrows pointing toward the bead.
Position the patch directly over the puncture area, centering it properly. Press down firmly, paying special attention to the edges. Use a buffer tool or stitcher to roll over the patch, forcing out trapped air bubbles and creating a secure bond between the patch and tire. This stitching step matters - apply firm, even pressure from the center outward in a cross-stitch pattern.
Allow the repair to cure completely for 5-10 minutes before mounting the tire back onto the rim. If your patch included a stem that protrudes through the tire, trim the excess using flush-cut pliers or a razor blade, leaving approximately ⅛-inch remaining. Cut the repair flush with the tread face to prevent excess material from being pulled or twisted while driving, which could damage the repair's integrity.
The final phase of tire patching requires careful reinstallation and thorough testing to ensure your repair delivers the long-term performance you expect.
After your patch has fully cured, remount the tire on the rim with attention to detail. Improper mounting creates leaks at the bead, undermining your entire repair effort. Position the tire evenly around the rim, applying mounting lubricant if available to ease installation. Once positioned, inflate the tire briefly to approximately 50 psi to help the bead seat properly on the rim. You'll hear audible "pops" as the tire seats correctly.
A professionally repaired tire should always be balanced after remounting. This step ensures even wear and maintains optimal driving performance. Without proper balancing, you might experience vibrations or uneven tread wear regardless of how well you patched the puncture.
Once remounted, adjust the tire pressure to manufacturer specifications. These inflation pressures appear in pounds per square inch (psi) or kilopascals (kPa) on your vehicle's tire placard, certification label, or owner's manual. Never set tire pressure below the recommended level or exceed the maximum inflation pressure shown on the tire sidewall.
Many inexperienced mechanics make a critical error after patching - they leave tires at the high pressure used for mounting, often 50+ psi. This pressure must be reduced to proper specifications immediately after confirming the repair holds. Over-inflation causes uneven wear to the center of the tread, while under-inflation causes shoulder wear.
Before reinstalling the wheel on your vehicle, verify your repair's integrity. Mix a solution of dish soap and water (20-30:1 ratio) and apply it generously to the patched area. Look carefully for bubbles forming, which indicate escaping air.
For a more thorough test, fill a large container with water and submerge the tire section by section, watching for air bubbles. Monitor the tire's pressure for 24-48 hours afterward, as some leaks develop slowly. If pressure remains stable, your repair was successful.
Successful tire patching goes beyond following steps correctly—knowing what not to do matters just as much. Even experienced DIYers make these potentially dangerous errors.
Tire sidewalls flex constantly while driving, making any repair in this area dangerous. Unlike the tread, sidewalls lack the internal structural reinforcement needed to maintain integrity after repair. Attempting to patch a sidewall significantly increases blowout risk. Remember this crucial rule: no amount of sidewall damage is considered safe. Even small sidewall cuts eventually enlarge due to the tire's constant flexion.
Proper surface preparation directly impacts repair longevity. Before applying any patch, thoroughly inspect the tire for hidden damage. Use a carbide cutter to remove damaged belts from inside the puncture channel. Clean and buff the area using a low-speed tire buffer to create an even texture that maximizes adhesion. Apply inner liner sealer to restore air retention properties.
Certain situations require professional intervention. Look for these warning signs:
Punctures larger than 1/4 inch (passenger tires) or 3/8 inch (light trucks)
Visible damage to steel belts or cords
Multiple punctures on a single tire
Significant cuts, gashes, or sidewall bulges
Persistent leaks after attempting repairs
Recognizing your limitations prevents costly mistakes and ensures road safety.
Tire patching skills offer real value for any driver willing to learn the proper techniques. We've covered the complete process from identifying repairable damage to finishing a professional-grade repair. Understanding when a tire can be safely patched versus when replacement becomes necessary keeps you and your passengers safe on the road.
Location remains the key factor - tread area punctures can often be repaired successfully while sidewall damage always means replacement time. The right tools and materials separate a temporary fix from a lasting repair that maintains your tire's structural integrity.
Each step matters when you want your patched tire to perform reliably for years ahead. Surface preparation might seem time-consuming, but proper roughening and cement application creates the foundation for a secure patch. Skip these steps and you're setting yourself up for patch failure later.
Safety comes first throughout this entire process. When you encounter situations beyond your skill level or comfort zone, professional tire technicians offer the expertise you need. A properly patched tire delivers seven to ten years of service, but only when the repair meets industry standards.
Learning this valuable skill pays off beyond just cost savings. You gain the knowledge to make smart decisions about your vehicle and avoid unnecessary expenses without sacrificing safety. Whether you're handling your first flat or helping neighbors with their tire problems, these techniques turn a roadside emergency into something you can handle with confidence.
Master these essential tire patching principles to save money and ensure safe, long-lasting repairs that can extend your tire's life by years.
• Only patch tread area punctures under 1/4 inch - sidewall damage always requires complete tire replacement for safety • Proper surface preparation is critical - thoroughly clean and roughen the puncture area before applying cement and patch • Use combination plug-patch kits for DOT-approved repairs that fill the hole and seal from inside simultaneously • Test repairs thoroughly with soapy water and monitor tire pressure for 24-48 hours to ensure the patch holds • Know your limits - seek professional help for oversized punctures, multiple repairs, or any structural tire damage
When done correctly following industry standards, a properly patched tire can last 7-10 years, making it a reliable alternative to costly tire replacement. However, safety should always take precedence over savings - never attempt repairs on sidewalls or damage exceeding size limits.
Not all punctures can be safely repaired. Repairs are generally possible for tread area punctures up to 1/4 inch in diameter for passenger tires. However, sidewall damage, large punctures, or multiple repairs on a single tire usually require tire replacement.
Essential tools include a tire patch kit, leak detection spray, tire irons, an impact wrench, a bead spreader, and safety equipment like gloves and goggles. A portable compressor or air supply is also necessary for reinflating the tire after repair.
A correctly patched tire can last for seven to ten years, often for the remaining life of the tire. However, this depends on the quality of the repair and adherence to proper patching techniques.
No, it is never safe to patch a tire's sidewall. Sidewalls flex constantly while driving and lack the internal structural reinforcement needed to maintain integrity after repair. Any sidewall damage requires complete tire replacement.
After patching, apply a soapy water solution to the repaired area and look for bubbles, which indicate air leaks. Additionally, monitor the tire's pressure for 24-48 hours. If pressure remains stable, your repair was likely successful. For a more thorough test, submerge the tire section by section in water and watch for air bubbles.